Thursday, April 28, 2011

Black on Black...

After deciding that I do indeed like the big wheels, I took advantage of the past three days of rain to give the Unit a makeover. I swaped-out the old Race Face Turbine cranks for my trusty White Industries ENO's, the Avid BB7 mechanical disc brakes for Juicy 7 hydraulics, repaired the lock-out on my fork, pulled off the old ragged-out Ergon GX-1's for some Oury Lock-on grips and repainted the frame gloss black & flat black. Stealth and Sexy. Ready for the race at Krug a week from Saturday and Syllamo on the 14th. It's gonna be good!

Saturday, April 23, 2011

SSUSA11...

Now THIS looks like a great time.
 If it's good enough for Cam, it's good enough for you. Who's IN?
The Manimal and I will be there!

Thursday, April 21, 2011

Hot Laps...

The first day back in the saddle after an endurance race is always a question mark. Fortunately for me it felt like a million bucks. I'm not sure if it was due to the fact that there was no one else on the trail and I was daydreaming or if my body was just craving the burn. Whatever it was, It was worth every peddle stroke.

Kuat NV Review...

First things first. Thanks for checking out my blog and for reading this review on one of the many fine products from Kuat.

A little background qualifications* on me; I've been lugging bikes and all sorts of other gear around on the outside of my many automobiles for the last 20+ years. I have used, owned, sold, bought, destroyed and meticulously inspected all of the higher-end rack company's gear during that time. I know a fair bit about roof and hitch mounted racks from these years of experience. With that said...let get on to the dirt.

Enter the Kuat NV.

Lets start with 'from the box'. There is some assembly required. I feel the assembly of the rack is very straightforward and basic. All tools required to do the work is provided as well as printed instructions. The build can be done by one person with ease. I won't get too deep into the assembly because Kuat has a video of it HERE.
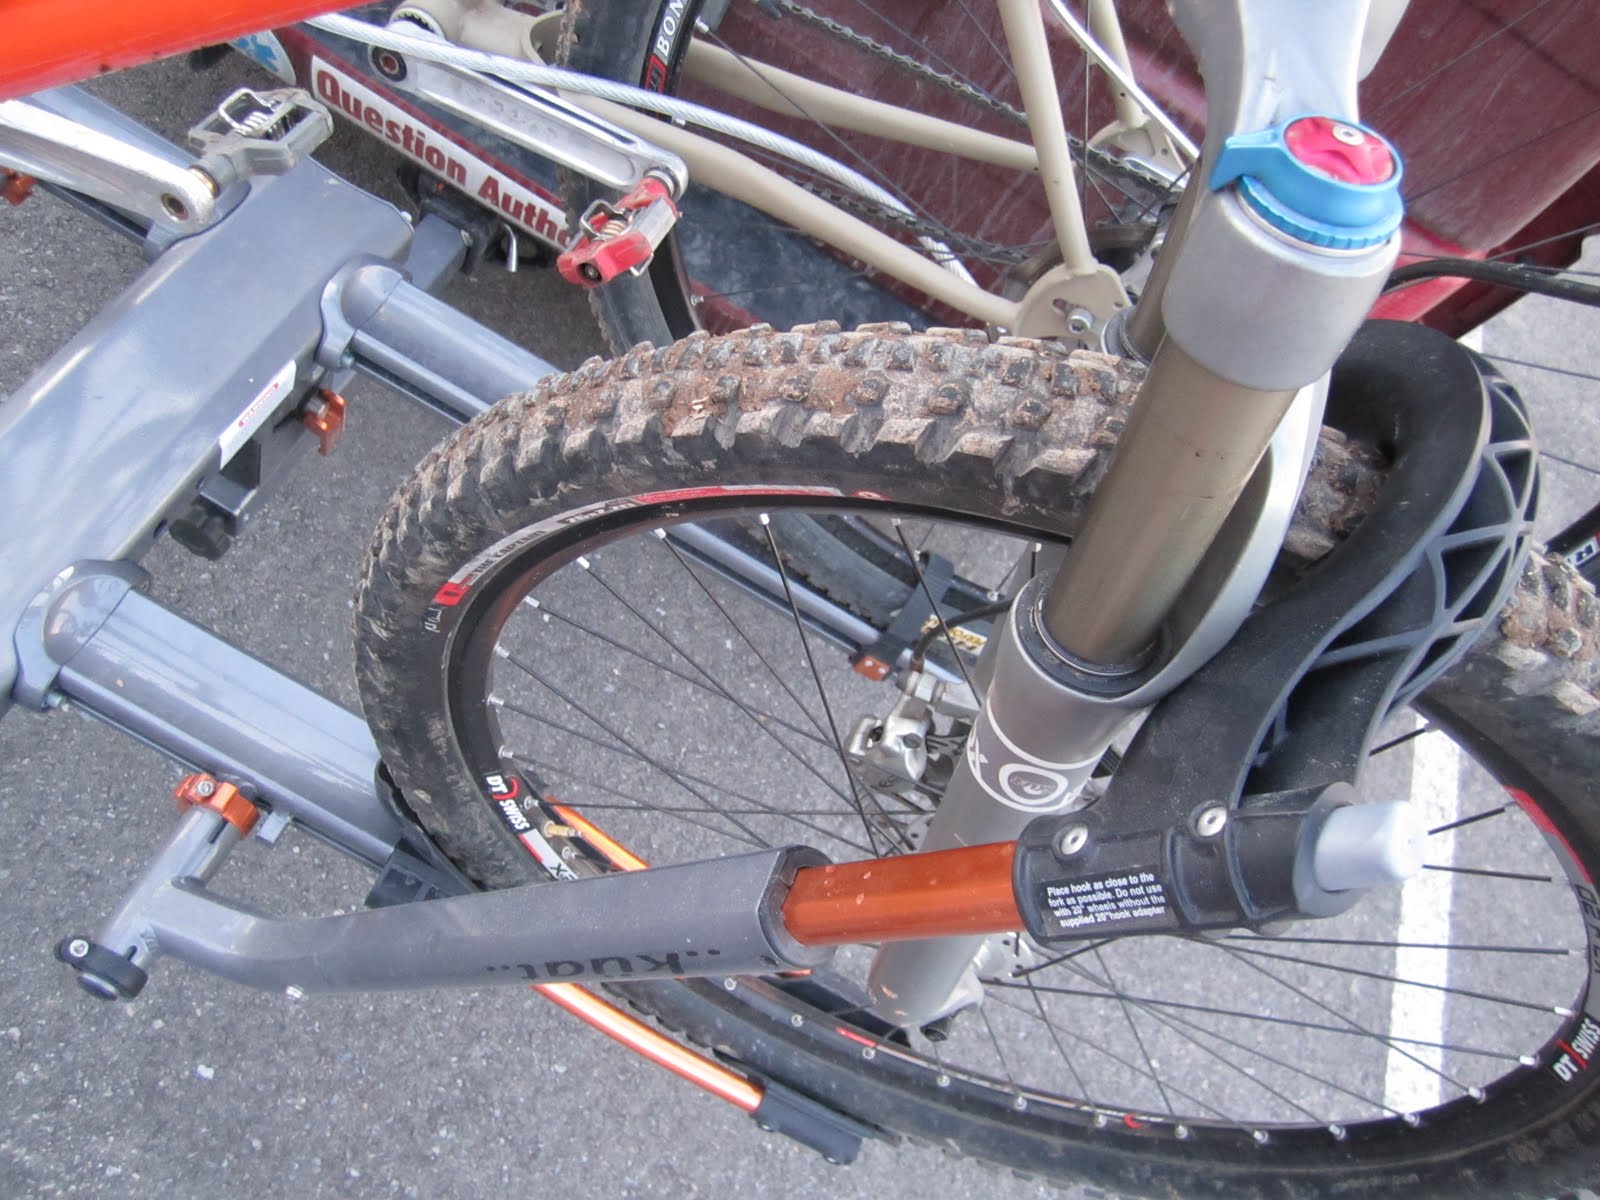
At first sight I thought "Man, this rack is really going to make my car look like crap"...meaning the rack is beautiful. The best looking rack available for sure with it's extruded aluminum arms (which are painted metallic gunmetal) and finished off with orange anodized accents. Very sexy.

Installing the rack on my hitch was E-Z. The Aluminum NV weighed in at easily half the weight of other hitch mounted racks. It was not the two person tug-a-thon that I had experienced in the past with heavy steel systems. Once inserted into the receiver hitch, slide the pin in place and tighten the cam knob and the NV locks into place. This 'cam' expands into your receiver hitch body and makes a super solid bond, keeping your rack, and more importantly your high dollar bike(s) from flopping all over the place as you drive to the trail head - be it on paved roads, gravel or a dirt 4x4 road full of ruts and holes. Bikes stay solid as if welded directly to your auto. I'll go ahead and say it...'Peace of mind'.
Next on the list is getting your bike on the rack. This too is a piece-of-cake. You simply set your tire in place in the custom molded cradle, fold the arm to the sweet spot (top of front tire and fork apex) and click the ratcheting mechanism down into place. This firmly holds the bike in the cradle. Next, step to the back wheel and simply run the ratcheting-strap around the rim/tire and snug it down. Done, ready to roll! You can view another Kuat video to help you understand the installation and use of the NV HERE.
The NV comes standard as a (2) bike carrier. You can also add an additional (2) bike add-on (to the 2" receiver version only). This might be a deciding factor when choosing what version to purchase, or if you are still looking into what sized receiver to put on your auto. I went with the 2" so I could, in the future, make the upgrade to haul (4) bikes.

Another fine feature of the NV is the Trail Doc. The Trail Doc is a neat little arm and clamp that allows you too use your Kuat NV as an on-the-go bike stand, repair stand, show-off-your-sweet-bike stand, etc. Simple and effective in design, the Trail Doc slides up and down to different heights, is safe to use clamped around your seat post (vertically) or around any frame material (horizontally), even carbon frames. I was not sure at first if [this] was a feature I indeed needed, but at a race after receiving my NV, I had to do some last minute pit changes to my bike and the Trail Doc saved my a$$. Since then I use ol' Doc around the house to do regular maintenance on my bikes and have since used it at almost every race. I also found that you can use the Trail Doc when the NV is off of your car and sitting on the ground. Now I use it in the garage or driveway as my go-to repair stand for all occasions.If you already own a tray-style hitch-mounted rack, Kuat offers the Trail Doc as an add-on. Don't miss out!
I ride often enough that I just leave the NV on my van year-round. When I had done this in the past with other hitch racks, they would get ugly and rust. The Aluminum construction of the NV stays looking pretty all year long. I will say that with salt on the roads during winter months, I did have to keep the integrated cable lock-core maintained (simple WD-40 spray) or it would get sticky. The cable lock and locking hitch-pin, both keyed, are nice features that allow you some confidence during those last minute liquor store runs. The NV was a sure bet for all season use.

I was also concerned with how well the NV would tilt out-of-the-way of my rear hatch. I drive a VW Eurovan and the rear door is huge, a monster. The NV easily tilts down and out of the way with the flip of an innovative and easy to use spring-loaded lever. It also folds up and into a vertical position to be stowed for driving w/o bikes. Nice!
The NV works flawlessly with 700c, 29er and 26ers alike, as well as 20" (with supplied adapter). Frame type does not matter because the NV uses your bike's wheels to do the holding, so an awkward shaped suspension frame or women's specific frame is no trouble at all.

Last but not least I want to add that the crew at Kuat headquarters are all top-notch folks. They promote cycling events locally, donate prizes to events all over the globe and are generally just nice to deal with. Warranty issues are never a problem as Kuat wants you happy and out there riding (they are riders too).
If I were to buy a new hitch rack today, it would still be the Kuat NV. An exceptionally functional piece of innovative art that will get your bike to the trail in style; your friends will wish they were you. Do it
My overall rating for the Kuat NV is...
Other resources and information on the NV:
Kuat
MTBR Review
Cycling-Review
Singletracks

NV MSRP $549


2-bike add-on MSRP $349
Trail Doc (as an add-on with adapter) MSRP $89

Check out my Kuat Beta Review HERE!

Kuat Innovations LLC,
Springfield, MO.

Toll Free: 1(877)822-5828
Email: info (at) kuatinnovations (dot) com

Wednesday, April 20, 2011

Soon - Kuat NV Review...

Coming VERY soon...
I've put the NV to the test and will be giving my thoughts on it's design and function in the next few days. Keep your goggles clean and ready for viewing!
 

Tuesday, April 19, 2011

Bonebender Race Report...

When you look forward to a race, all is good. Bonebender has been a tradition for me, and this year I was even more psyched to see the race moved from Smithville Lake to Clinton Lake, as the trails at Clinton are a true a$$-kicking good time.
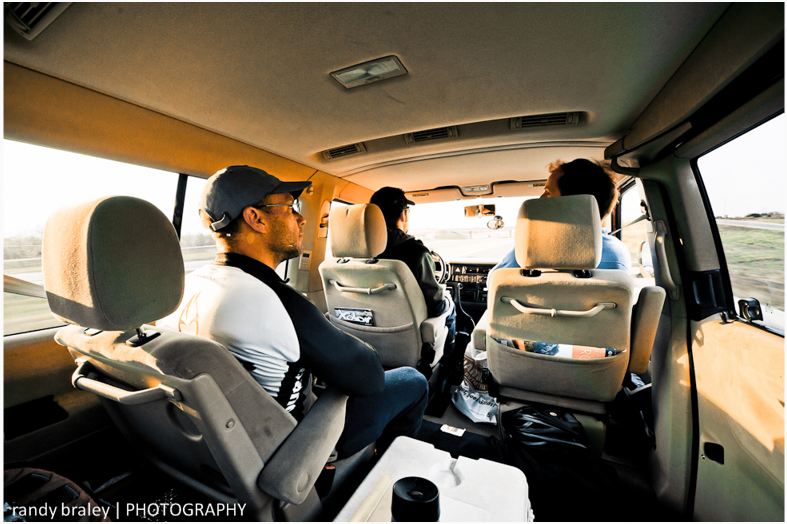
Sunday early morning Ranski, Manimal, FM and myself headed out in the V-dub for Clinton and to set-up the Ethos team pit area. We found a perfect spot right on the course, just past the start/finish for easy access. We had four tents to accommodate our 20ish teammates and cases of beer from Weston Brewing Company. Weather was absolutely perfect and the trail was too. Ethos riders and groupies alike started piling in as the ten o’clock start time grew near. Everyone suited up, prepped bikes, mounted number plates, tossed back last minute nutrition and gave high-fives; it was game-on.

The mass start began at the bottom of a steep gravel double track near the shore of the lake. We lined up and at the sound of the shotgun blast we were off running the 200 yards to our bikes. Once on the bike it was a quarter mile of pavement and through a field to the singletrack. The start of the single track was on advanced terrain and it was a train-wreck of gumbies who can’t ride rock, walking single file for seemingly a quarter mile before people started to space out and ride. It was frustrating but you just have to keep it together long enough to get rolling, keep your cool. Once on the bike I was sucking wind and spinning hard. Lots of rock gardens, steep climbs, flowy dirt recovery areas and wet creek crossings were endured.
With lap one under my belt, I made a pit stop and did my ritual bottle change (one water and one HEED/Perpetium mix), ate half a banana and a power turd (a homemade granola type protein bar) and was off for lap two. This was my routine each stop, every lap. I was feeling pretty good.
As time went on each lap grew more straining on my knees and mind. My mind usually is stronger than my body and I was able to keep on trucking. I never have cramping issues because my race nutrition is near perfection, and I make sure to be hydrated starting two days prior to race day. When I’d feel a little low on gas, I’d hit my Hammer Gel flask and get a boost of energy. Usually I was riding alone but for parts of laps I’d grab a wheel or allow someone to follow mine.
My second lap I crashed hard going around a tight corner through some rocks, over a log and into the dirt. My bars spun upon impact and kinked the lock-out cable on my suspension fork. When running a single speed, I lock-out my fork on climbs and release it in rock gardens and down-hills. This crash proved to make that more difficult for the rest of the race and I’d have to manually retract the lock-out mechanism each change; pain in the ass but I kept riding.
I’m guessing it was lap four that was my hardest, physically and mentally. I was getting worked like a minimum wage job. Tired. Knees were hurting much like during the Leadville race two years ago. I was keeping my chin up and hoping for the best. Just when I thought I needed to stop for a minute to regroup, I heard this guy yell ‘Beer Hand-up’ and I was like ‘Hell Yeah!”. I tossed back a few sips and let me tell ya, that liquid was like a shot of steroids; I was flying down the trail after that. THANKS DUDE! Later that same lap as the beer buzz wore off and I was getting tired again, I turned a corner to see a huge copperhead snake on the trail. I could not avoid it and ran him over. The adrenaline rush helped me through the rest of the lap. Thanks and sorry little serpent fella.

Back at the pits I took a breather. I was at this point just trying to finish the race and was psyched to see all of the three hour guys tossing-back barley-pops and cheering me on. I went out for my fifth and last lap. It was brutal. All of the toughest climbs I would just dismount and walk to save crucial energy. Why not I told myself, it’s almost over; there are coolers full of beer at the tents..
I finished my last lap 4 minutes shy of having to do a sixth (thank freaking god) and rolled into the Ethos pit to be handed a well-earned cold one. How refreshing. What a helluva fun day!

To wrap up our adventure, Pyro, G-wiz, Ranski, Steve, Jamie, Manimal and I grabbed some awesome grub at the Freestate Brewery. They even gave us the team discount (wink wink).

I’m already looking forward to next year!
G-Wiz and Pyro took top honors in the 6 hr duo
The B-Rockets won the Co-ed Duo,
Kevin tore-up the 6 hr Solo Clydesdale with the win
Cole won the 6 hr SS class
Manimal took 2nd in the 3 hr SS
Sarah took 2nd in the Open 3 hr.
And me, I didn’t get last!

Results are HERE

Sunday, April 17, 2011

Bonebender...

Bonebender 2011 Race Report coming soon...

Friday, April 15, 2011

Choose Wisely...

Sometimes I find myself scrathing my head just to figure out one gear...

Repair Kit...

As Promised, my repair kit. This little kit was born from several seasons of riding and learning from my own (and a handful of your) mistakes.

(1) spare tube
(1) pre-sticky patch kit
(1) tire lever - make sure you get one that won't break!
(1) multi-tool w/chain tool
(1) plug kit with extra plugs (for tubeless tire repair)
(1) UST valve stem
(1) chain ring bolt
(1) Quick Link
a few lengths of chain
a few zip-ties
(1) spare cleat and (2) cleat bolts
(1) spare valve stem nut
(1) Co2 valve head
(1) big air Co2

I change up the exact contents depending on where I am riding and/or if I'm racing, variations on conditions or which bike I'm riding. Overall this is the most crap I'd lug around at any one time. I carry the tube in a small seat-bag and the Co2 on a seatpost mount. Everything else fits in the handy-dandy black bag (made from a recycled tube). I just toss the bag in the center pocket of my jersey and roll. Hope this sheds some light for you jerks out there who've required a handholding on far too many occasions. Cheers!

Thursday, April 14, 2011

Sunday Funday...


Ready for Action...